
Manual Stitches
Satin tips
Choose a width, density and split for clean satin columns, and avoid the usual traps.
A satin column is stitches that cross from one edge to the other. It looks smooth and shiny. It is the stitch behind most borders and letters.
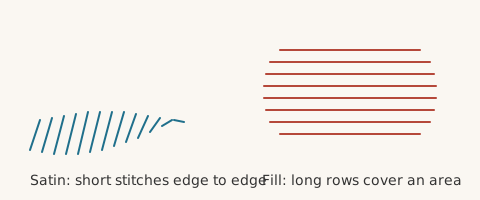
Pick a width#
- Under 1.5 mm: too thin. The stitches get tiny and can pile up. Use a Triple run instead.
- 2 to 6 mm: the sweet spot.
- Over 8 mm: stitches get long and can snag. Lilo splits the column in two stitched halves, or you can use a fill.
Density#
Density (spacing) is the gap in millimetres between needle drops on the same side of the column. Smaller is denser.
- 0.40 mm is the standard starting point for 40 wt thread.
- 0.35 mm is about the tightest for 40 wt. Below that you risk thread breaks and holes.
- 60 wt thread needs a tighter gap, about 0.35 mm, because the thread is thinner.
The hint under the slider shows stitches per centimetre.
Split above#
Split above divides columns wider than this many millimetres into two halves, so no stitch is too long. Zero turns it off. Two controls appear when it is on:
- Stagger cycles repeats the pattern of the split line.
- Stagger amount shifts the split line sideways, so the join does not form a visible seam.
Short stitches on curves#
On the inside of a tight curve stitches bunch up. Short stitches on curves shortens some of them so the column stays even. Turn it on for curved borders and round letters.
Underlay and pull compensation#
Always use some underlay under a satin column wider than 1.5 mm. Read Underlay and pull compensation.
Pick the stitch order#
Sew a long satin column in one go, not as several short columns joined end to end. Lots of joins create thread jumps.
Test first#
Sew a 20 mm test strip at your chosen width and density on scrap cloth. Look for gaps (loosen less) and ridges or puckers (loosen more).